
How to create online appointment scheduling (step by step)
Create online appointment scheduling in six practical steps: define the meeting, set availability, connect your calendar, share the page, and test every detail.
Short answer: To create online appointment scheduling, choose what people can book, connect the calendar that holds your real commitments, define available hours and booking rules, publish a booking page, and complete a test booking. A tool such as IntoCal handles the page, timezone conversion, confirmations, and website embed while you keep control of when meetings can land.
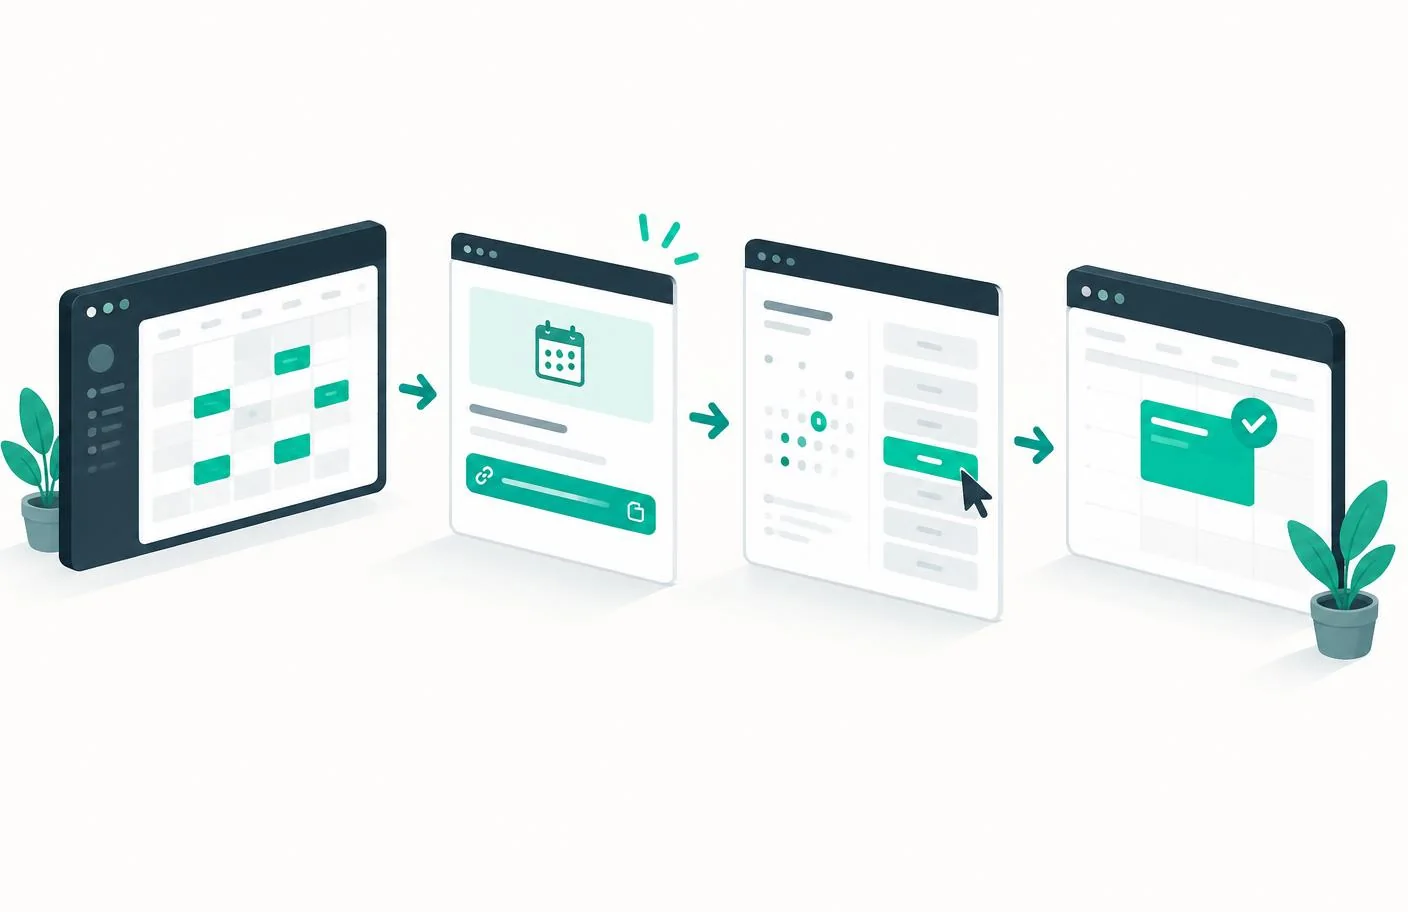
What you need before you start
A useful booking page begins with three decisions. Write them down before opening any scheduling tool:
- Appointment: the name, duration, location, and who should attend.
- Availability: the days and hours people may book, plus minimum notice and buffer time.
- Calendar: the calendar that contains conflicts and should receive confirmed meetings.
Keep the first version simple. One clear appointment type is easier to understand and test than a page containing every service you might offer.
How to create online appointment scheduling in 6 steps
- Create your booking page. Open a scheduling tool and create a page for the person, team, or service guests need to book. With IntoCal Free, you can start with one calendar and up to two appointment types without entering a card.
- Add an appointment type. Use a specific title such as “30-minute consultation.” Set the duration and choose a location: video call, phone, on-site, or a custom meeting place.
- Set realistic availability. Publish only the hours you can reliably protect. Add minimum notice so someone cannot book as you are leaving for lunch, and add a buffer if meetings require notes or travel.
- Connect the calendar that holds conflicts. A connected calendar lets the scheduler remove busy periods and add confirmed meetings automatically. IntoCal supports Outlook and Google Calendar connections on paid plans.
- Share or embed the page. Put the booking link in your email signature, contact page, or social profile. If the visitor should stay on your site, follow the website embed guide.
- Test the complete guest journey. Open the link in a private browser window, choose a different timezone, make a booking, and verify the confirmation email, calendar time, location, cancellation link, and reopened slot after cancellation.
Settings that prevent scheduling problems
| Setting | Practical starting point | What it prevents |
|---|---|---|
| Minimum notice | 12–24 hours | Surprise same-day appointments |
| Buffer | 10–15 minutes | Back-to-back overruns |
| Booking horizon | 30–60 days | Appointments too far ahead to plan |
| Required questions | Name, valid email, one useful intake question | Incomplete or overly long forms |
| Timezone display | Guest timezone, shown explicitly | Meetings landing hours off |
These are starting points, not universal rules. A clinic, tutor, sales team, and field service will need different notice and buffer settings.
If your booking page does not work
| Symptom | Likely cause | Fix |
|---|---|---|
| No times appear | No saved availability, too much notice, or calendar conflicts | Save weekly hours, reduce notice, then test a wider date range |
| A busy time appears open | The conflict calendar is not connected or the event is marked free | Connect the correct calendar and mark the event busy |
| The calendar time is wrong | The guest or host timezone is incorrect | Display and verify both timezones during a test booking |
| Guests abandon the form | Too many required questions | Ask only what is needed before the meeting |
Start with a page you can test today
IntoCal gives you a shareable booking page, two appointment types, confirmation emails, and a website embed on the Free plan. Start with one appointment, test it yourself, and only add complexity when a real booking workflow needs it. Compare the permanent limits in the free appointment scheduling guide, then create your free booking page.
Frequently asked questions
How do I create online appointment scheduling?
Create a booking page, add an appointment type, define available hours and booking rules, connect the calendar that holds your conflicts, publish the link, and complete a test booking in a private browser window.
Can I set up online appointment scheduling for free?
Yes. IntoCal Free has no time limit or card requirement and includes one booking calendar, two appointment types, a public page, basic confirmation emails, and a website embed. It includes IntoCal branding and no external calendar sync.
What information should an appointment form ask for?
Ask for the guest's name, a valid email address, and only the intake details needed before the meeting. Long forms increase abandonment and can collect information you do not need.
How do I prevent double bookings?
Use calendar sync, select every calendar that contains real conflicts, ensure blocking events are marked busy, and test the public page after connecting. External calendar sync is available on IntoCal paid plans.
Should I add a booking calendar to my website?
Embed it when visitors should book without leaving your site. Use a simple booking link in email signatures, direct messages, and social profiles where an embed is not possible.
Related guides
Teams meeting links on every booking, automatically
Attach a Microsoft Teams join link to every confirmed booking without touching a single invite — setup, the four reasons links go missing, and alternatives.
How to delete or reset an Outlook booking page
Remove a Microsoft Bookings page, reset it without losing the URL, or just pause it — plus what to do about the shared mailbox left behind.
Make scheduling simpler.
Outlook-first booking with a free-forever plan.
Try IntoCal freeRead next
Teams meeting links on every booking, automatically